Deploy Django - Choose Provider
Deploy to the World
To deploy a project means to make it visible for other people on the internet.
So far, in this tutorial, we have made a Django project that runs locally on your computer. This is often called, "in development", and when we have deployed it, we call it "in production".
Where to Deploy?
There are many providers out there that offers servers for Django projects. In this tutorial we will use the Amazon Web Services (AWS) platform, mainly because they offer a free solution that only requires you to create an AWS account.
Note: you can choose whatever server provider you like, they will all give you the same result, but they will have some provider-specific settings that you should be aware of when following this tutorial.
AWS
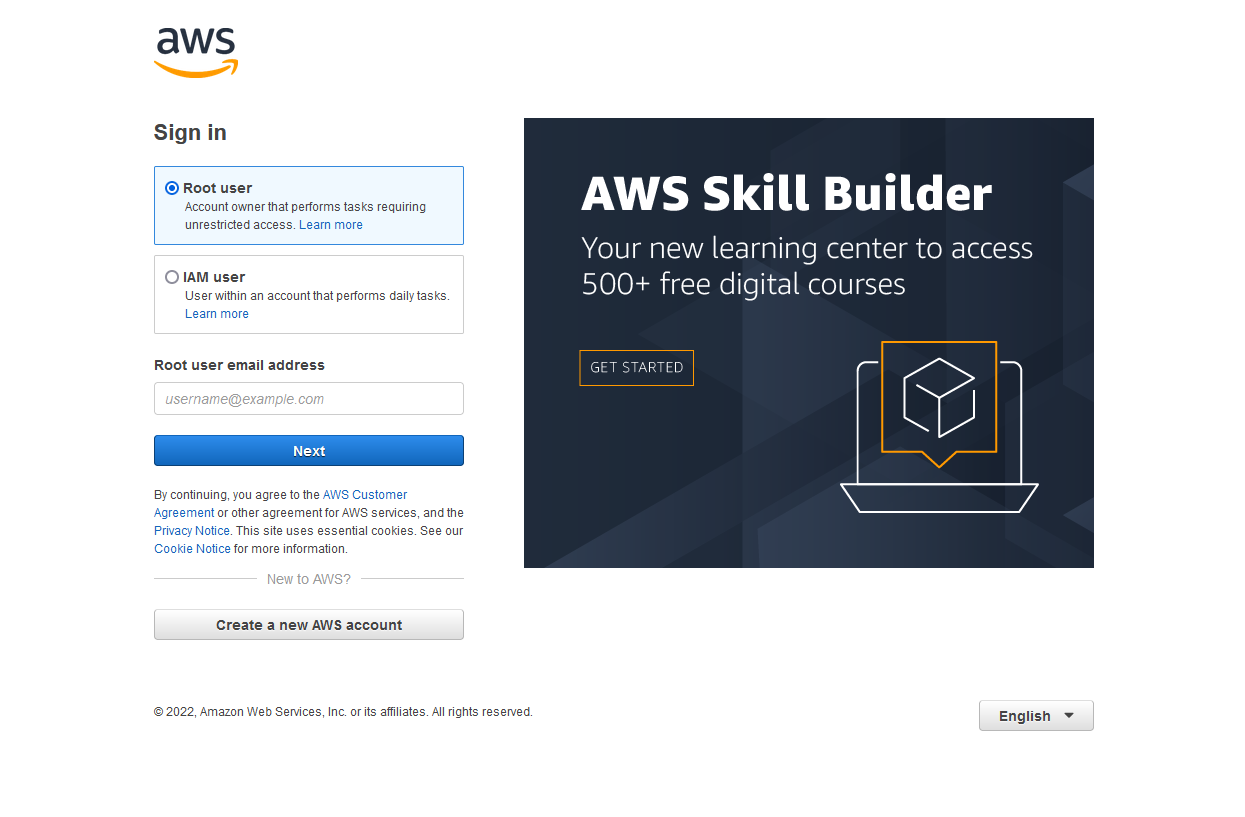
Log into your AWS account. (If you do not have an AWS account, follow the steps in the Create AWS Account chapter.)
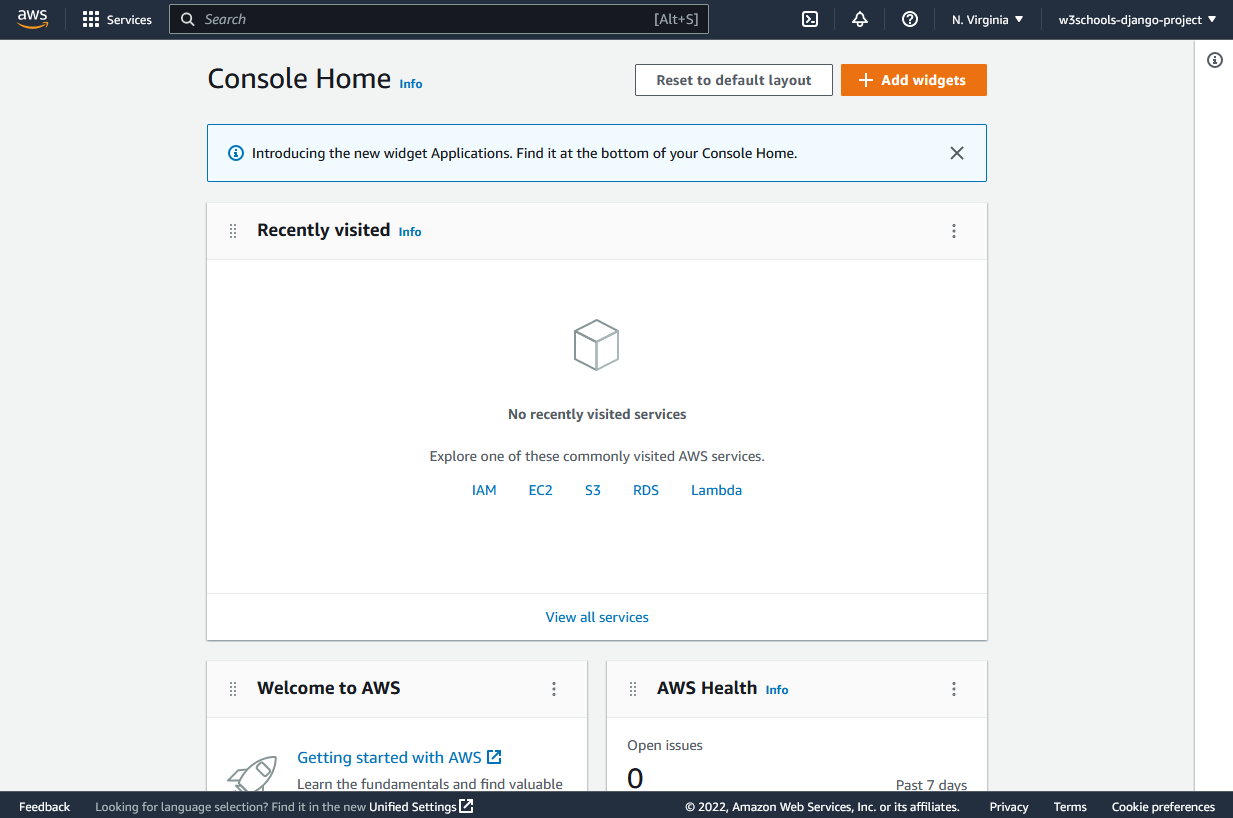
AWS Console
Once you have signed in, you should be directed to the AWS Console Home page:
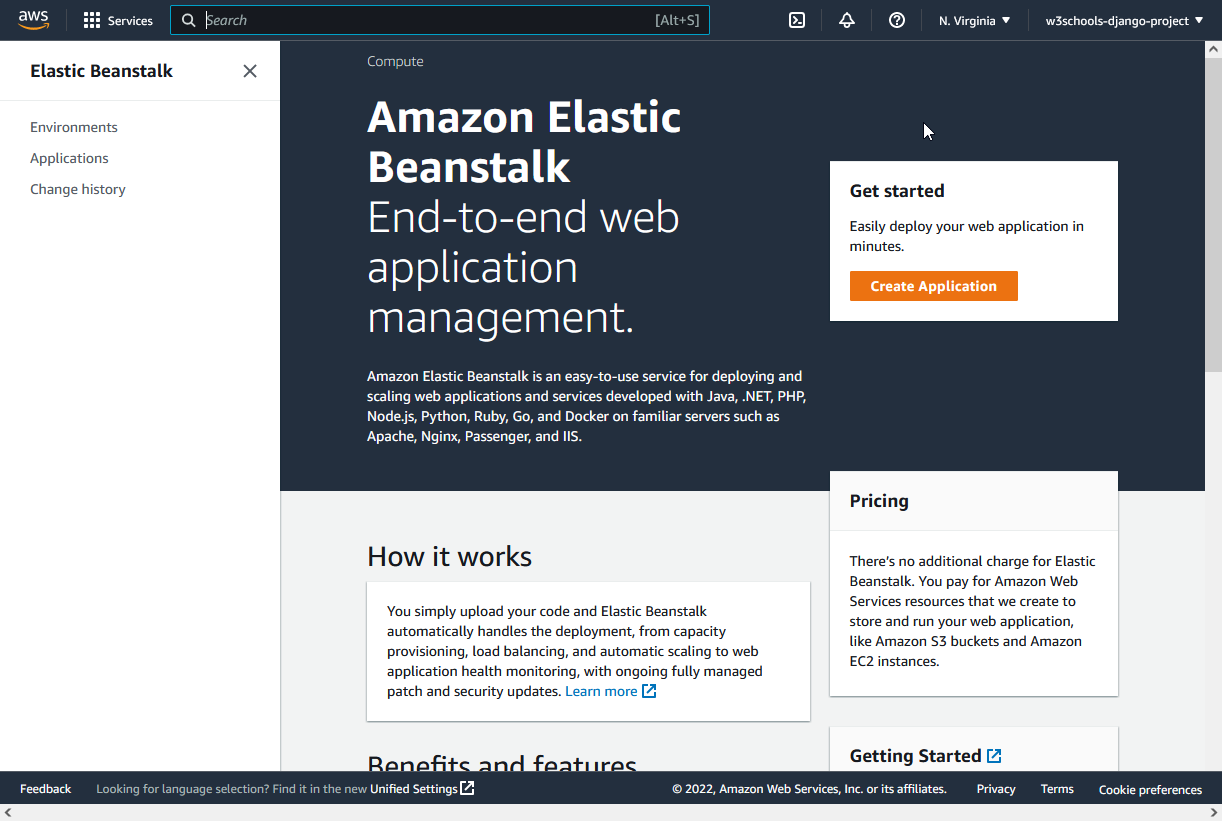
Elastic Beanstalk
We will be using a service called "Elastic Beanstalk" to deploy the Django project.
In the search field at the top, search for "elastic beanstalk", and click to start the service:
Lock in Dependencies
Once you have started the "Elastic Beanstalk" service, we could start with the deployment, but first we need to lock in some dependencies, which means to make you local Django project ready for deployment.
You will learn how to in the next chapters.
