Excel Table Resizing
Table Resizing
The size of a table can be changed.
Resizing is to increase or decrease the range of the table.
There are three ways to resize a table
- Resize table command
- Drag to resize
- Adding headers
Note: Resizing will continue formatting and formulas. This will be covered in a later chapter.
Resize Table Command
The resize table command allows you to change the size of the table by entering a range.
For example by entering A1:D10.
The command is found in the Ribbon under the Table Design tab.

Example - Resizing a Table
Example

Convert the range into a table.
Lets resize the table from range A1:F12 to A1:F20

- Select the table
- Click the Table Design menu
- Click the Resize Table command (
 )
)
Clicking the Resize Table command allows you to set a new range for the table.
- Click the range input field
- Type the new range,
A1:F20
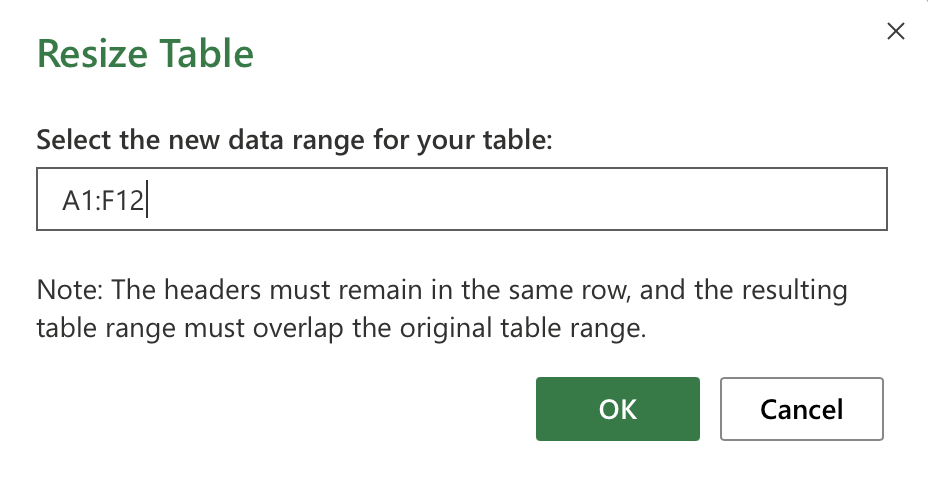
- Click OK
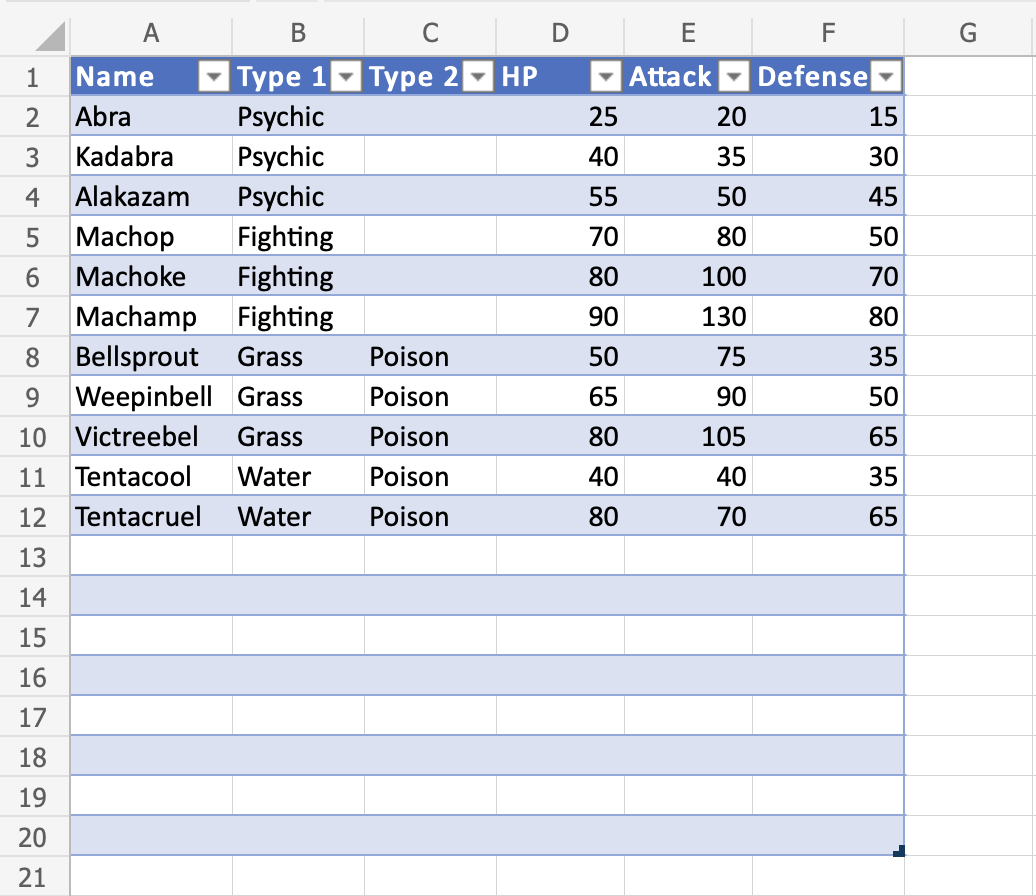
Great! The table has been resized to from A1:F12 to A1:F20.
Drag to Resize
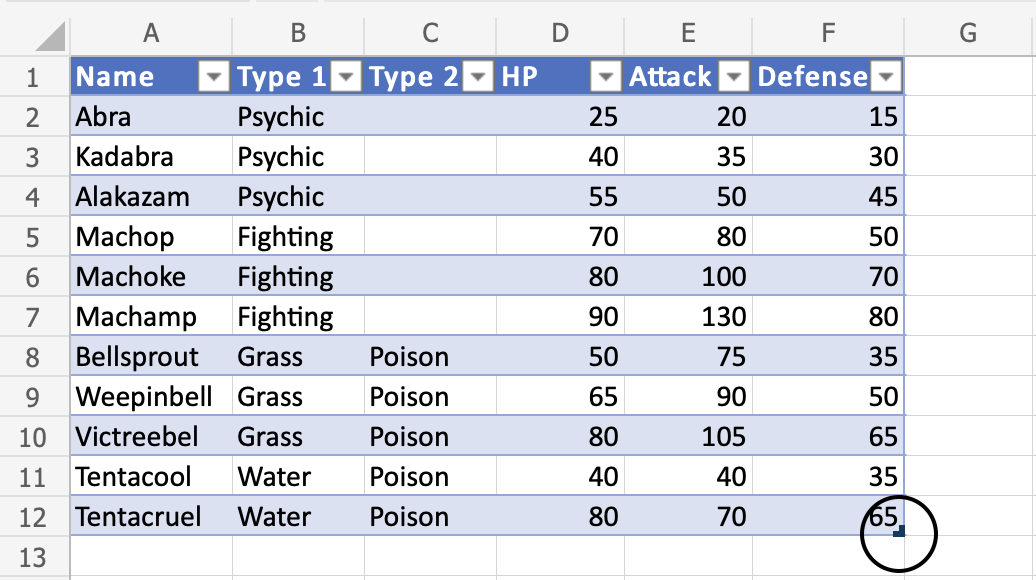
The table can be resized by dragging its corner.
Example - Dragging to Resize, Smaller
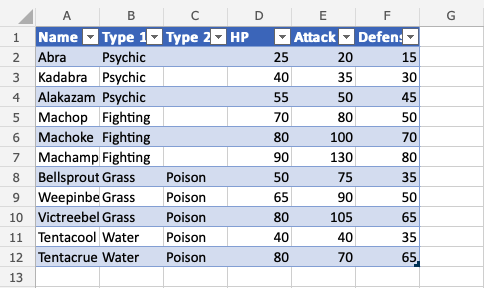
Change the tables size from A1:F12 to A1:D5
- Press and hold the bottom right corner of the table (
 )
)
- Move the pointer, marking the range
A1:D5
The table range has been changed from A1:F12 to A1:D5.
Note: Cells outside of the table range are no longer included in the table. The connection between the cells created by the table is broken and they no longer have the table formatting.
Let's try to sort the Pokemon by their names to see what happens.
- Click the filter option in
A1
- Sort by Ascending (A-Z)
The filter option only includes the Pokemon in the tables range (A1:A5). The connection to the cells outside of the table is broken.
Lets resize again, this time bigger.
Example - Dragging to Resize, Bigger
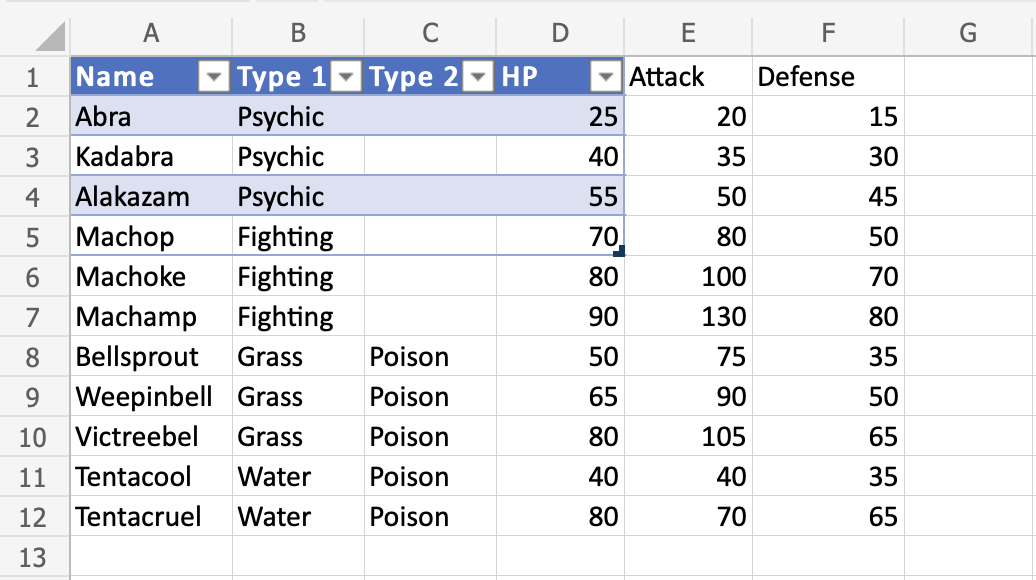
Change the tables size from A1:D5 to A1:G13
- Press and hold the bottom right corner of the table ()
- Move the pointer to mark
A1:G13
The table range has been changed from A1:D5 to A1:G13.
The rest of the cells are now included again, and the connection between the cells is back.
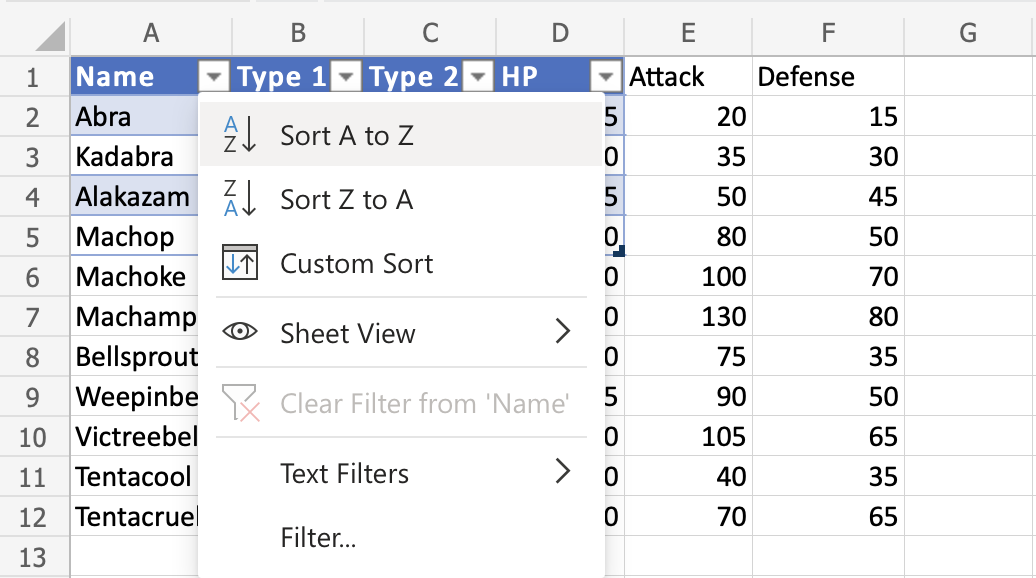
Let's try to filter the Pokemon by their names to see what happens.
- Click the filter option in
A1
- Sort by Ascending (A-Z)
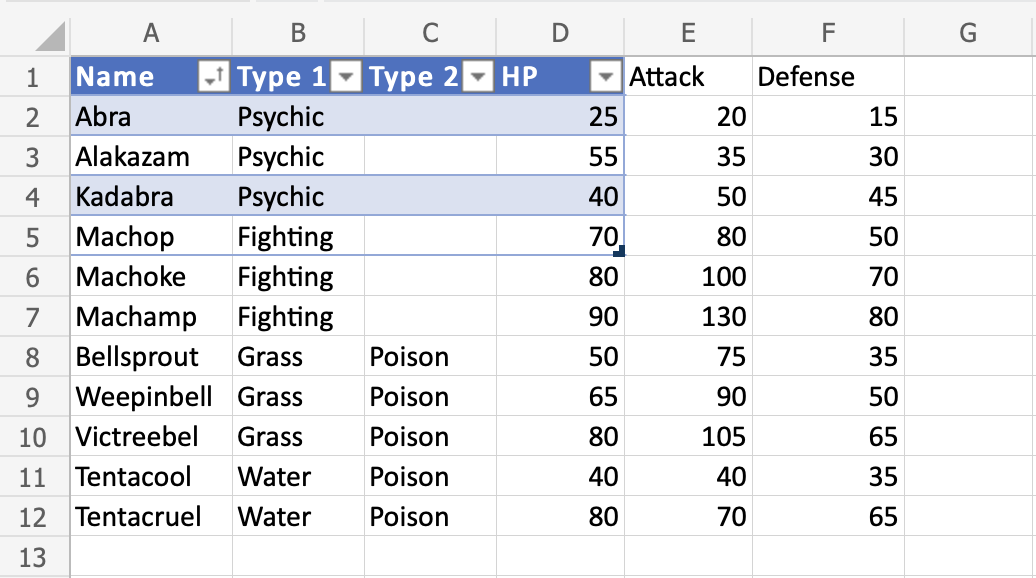
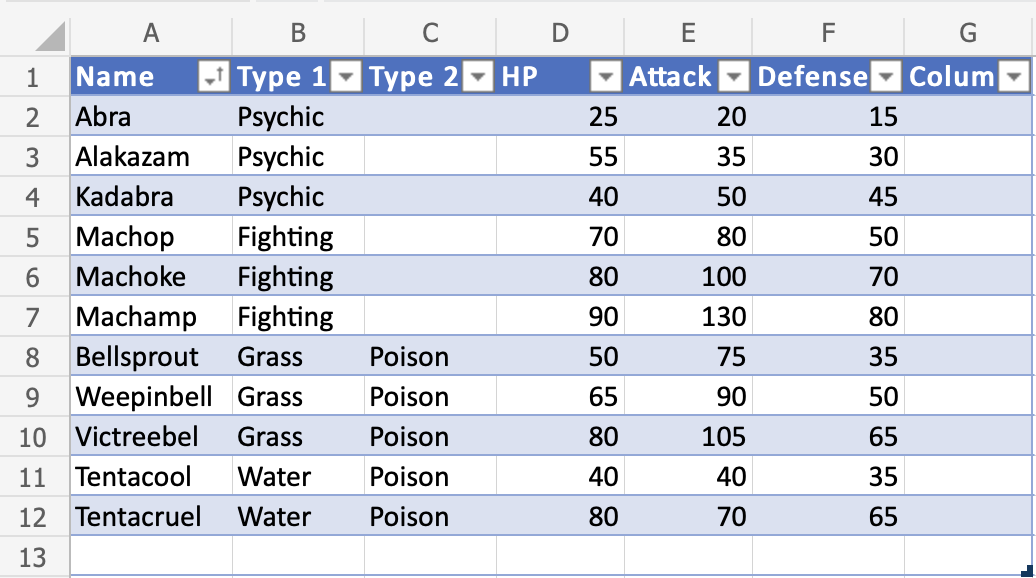
Nice! The table has successfully sorted the Pokemon in the range A1:A12 by their names.
Oh wait. Something has changed. A new column (G) has appeared...
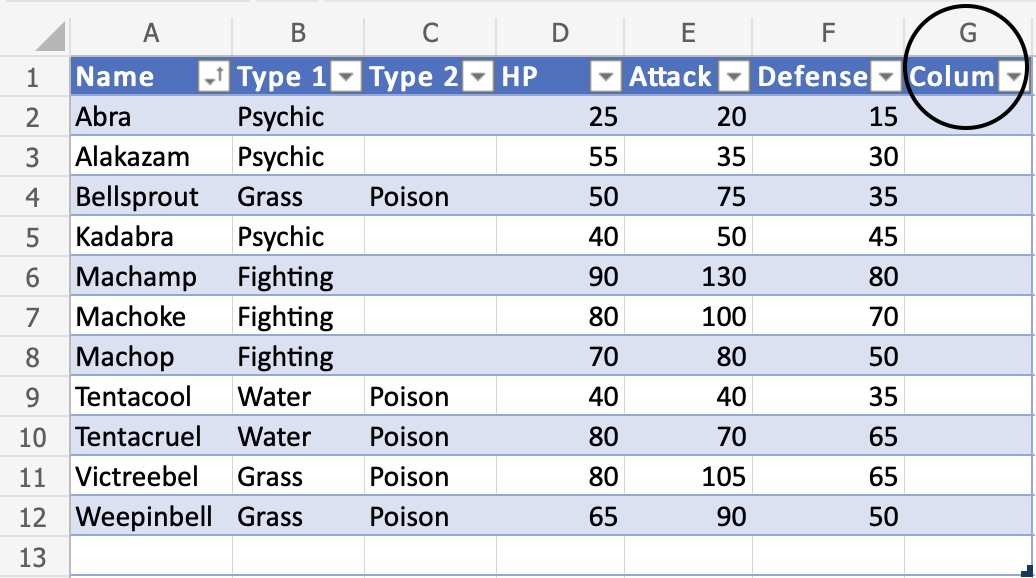
Increasing the table size will continue the formatting, formulas and add new columns.
Note: It will not overwrite the name for existing headers. It will use the value that is typed in the header cell.
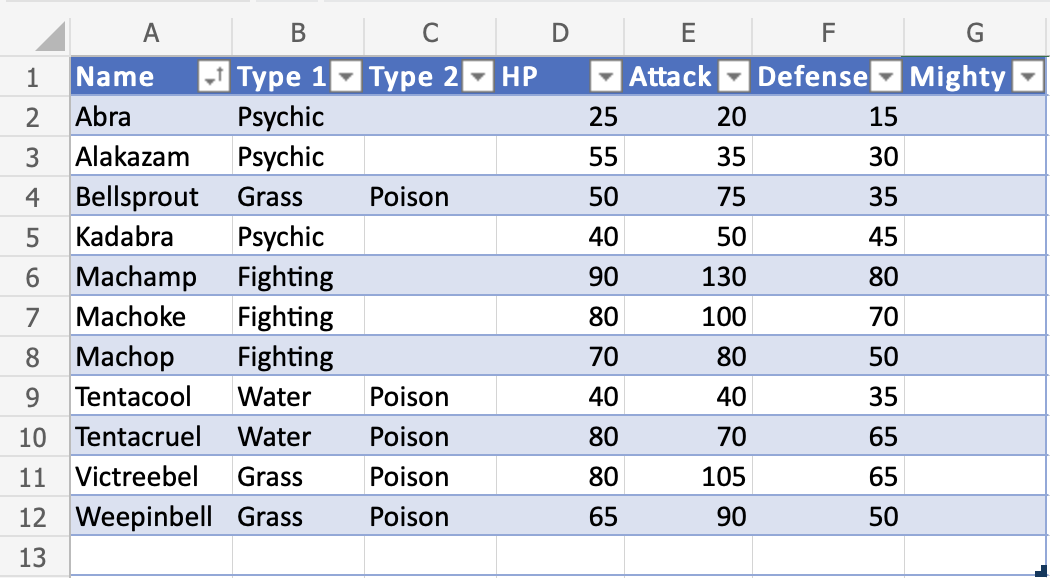
The header name can be changed.
- Double click
G1
- Delete the text
- Type "Mighty" to
G1
Another Example - Resize By Adding Columns
The table is automatically increased when new headers next to the table are added.
- Type "Mew" to
H1 - Hit enter
- Type "Two" to
I1 - Hit enter
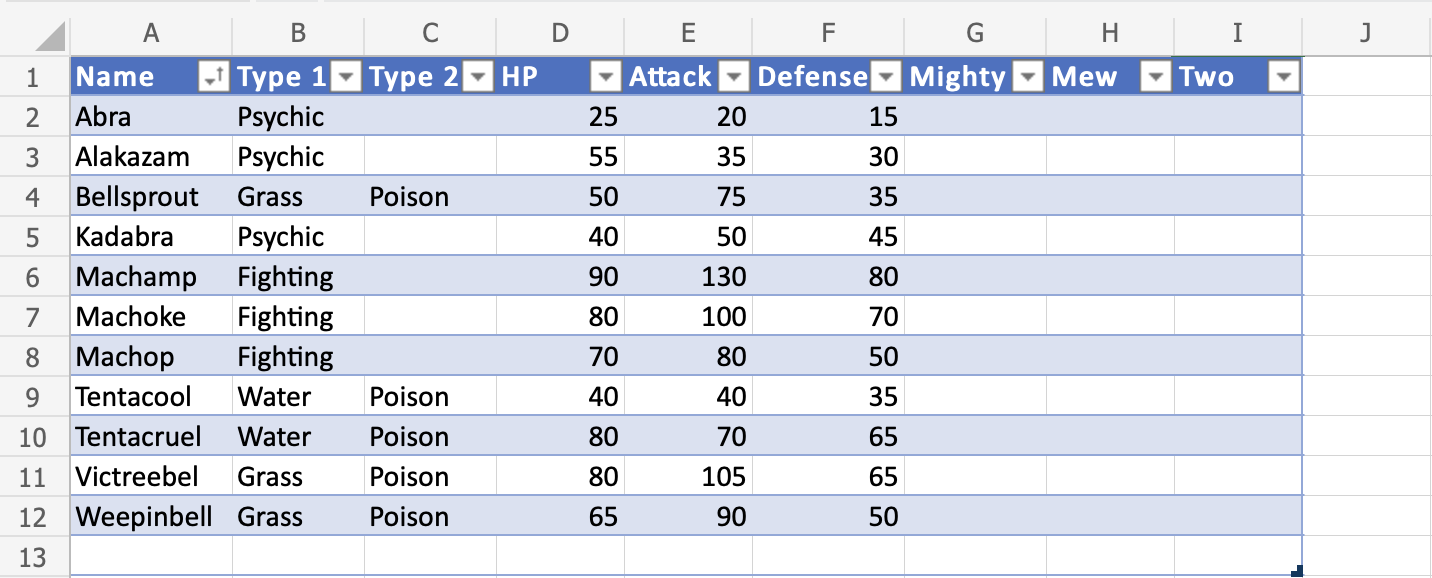
New columns with appropriate rows are automatically added when new headers are typed.
In the next chapter you will learn about removing duplicates.
